VSCode中文配置 + $LaTeX$ 配置
本文最后更新于:1 个月前
VSCode中文配置 + \(LaTeX\) 配置
[toc] ## 设备 品牌型号:MacBook Pro (13-inch, 2018, Four Thunderbolt 3 Ports)
操作系统:MacOS Big Sur v11.6
演示软件:Visual Studio Code v1.61.0 ## 下载安装VSCode 进入VSCode官网下载对应的系统版本文件 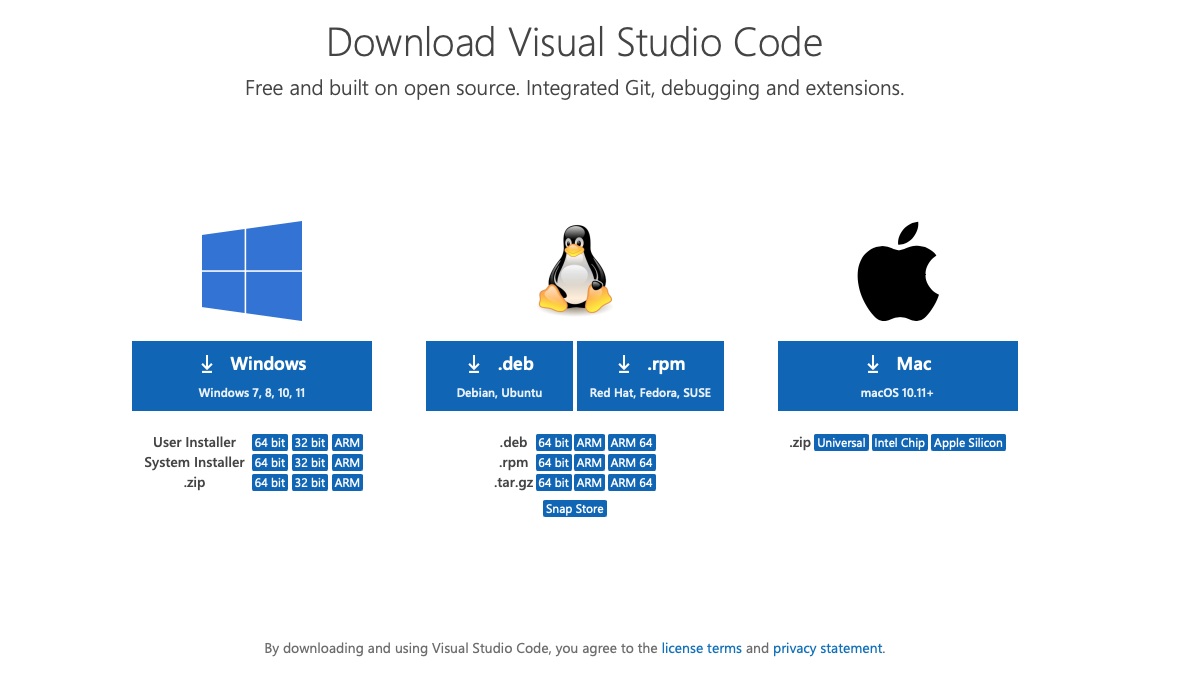 根据提示进行安装
配置VSCode
VSCode中文环境配置
默认情况下,Visual Studio Code使用的语言为英文(En),我们可以安装中文插件进行汉化
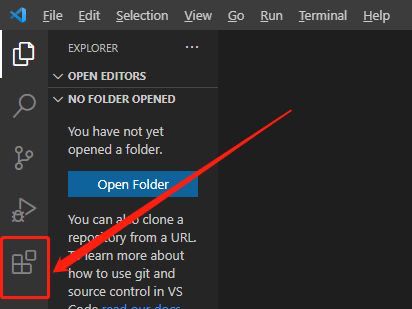
进入软件后,点击左侧的Extensions图标

然后在搜索框中,填入chinese
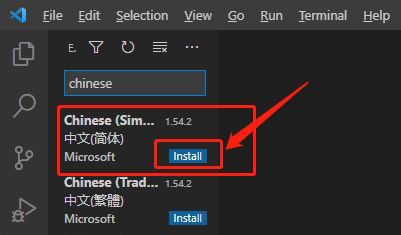
这时会出现许多搜索结果,我们选择带有“中文(简体)”字样的选项,点击其右下角的Install即可安装
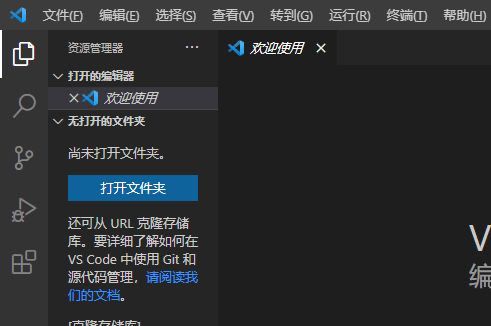
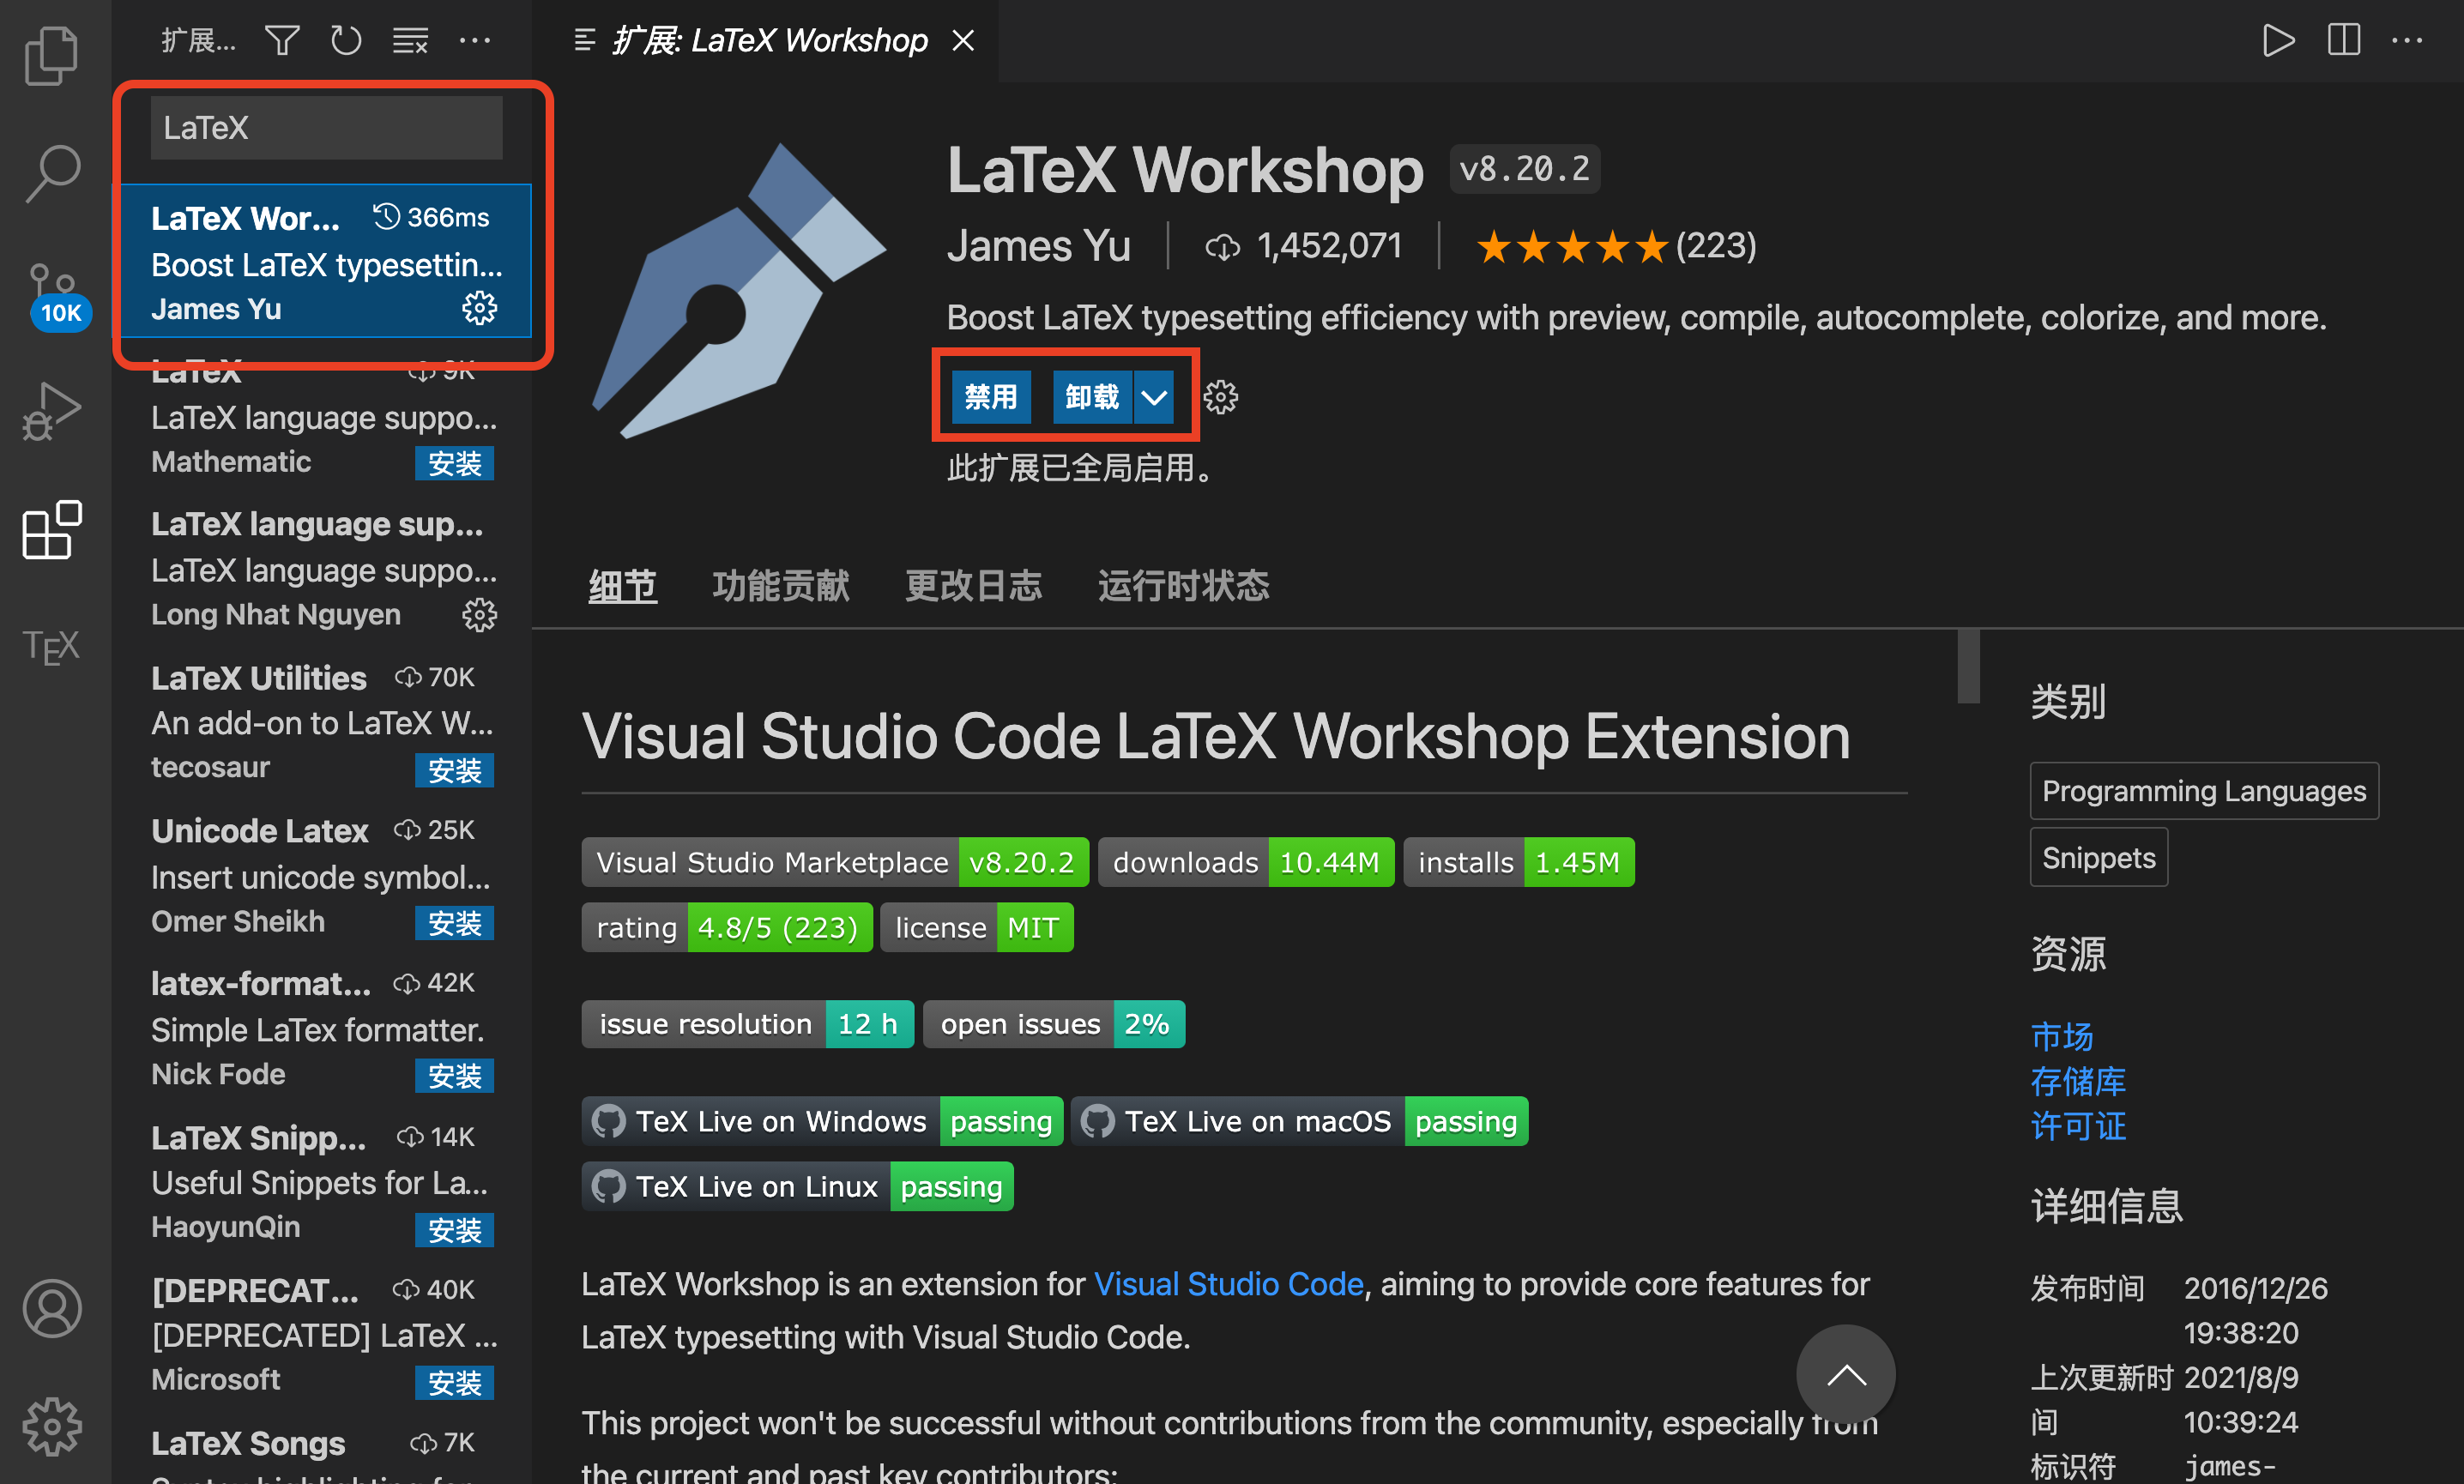
最后,重启软件后就可以看到表示语言已经变成中文了 ### Latex环境配置 #### 安装LaTeX Workshop插件 进入软件后,点击左侧的扩展图标
然后在搜索框中,填入LaTeX,这时会出现许多搜索结果,我们选择LaTeX Workshop字样的选项,点击右侧详情页面的安装即可安装
修改 user setting
点击左下角管理图标
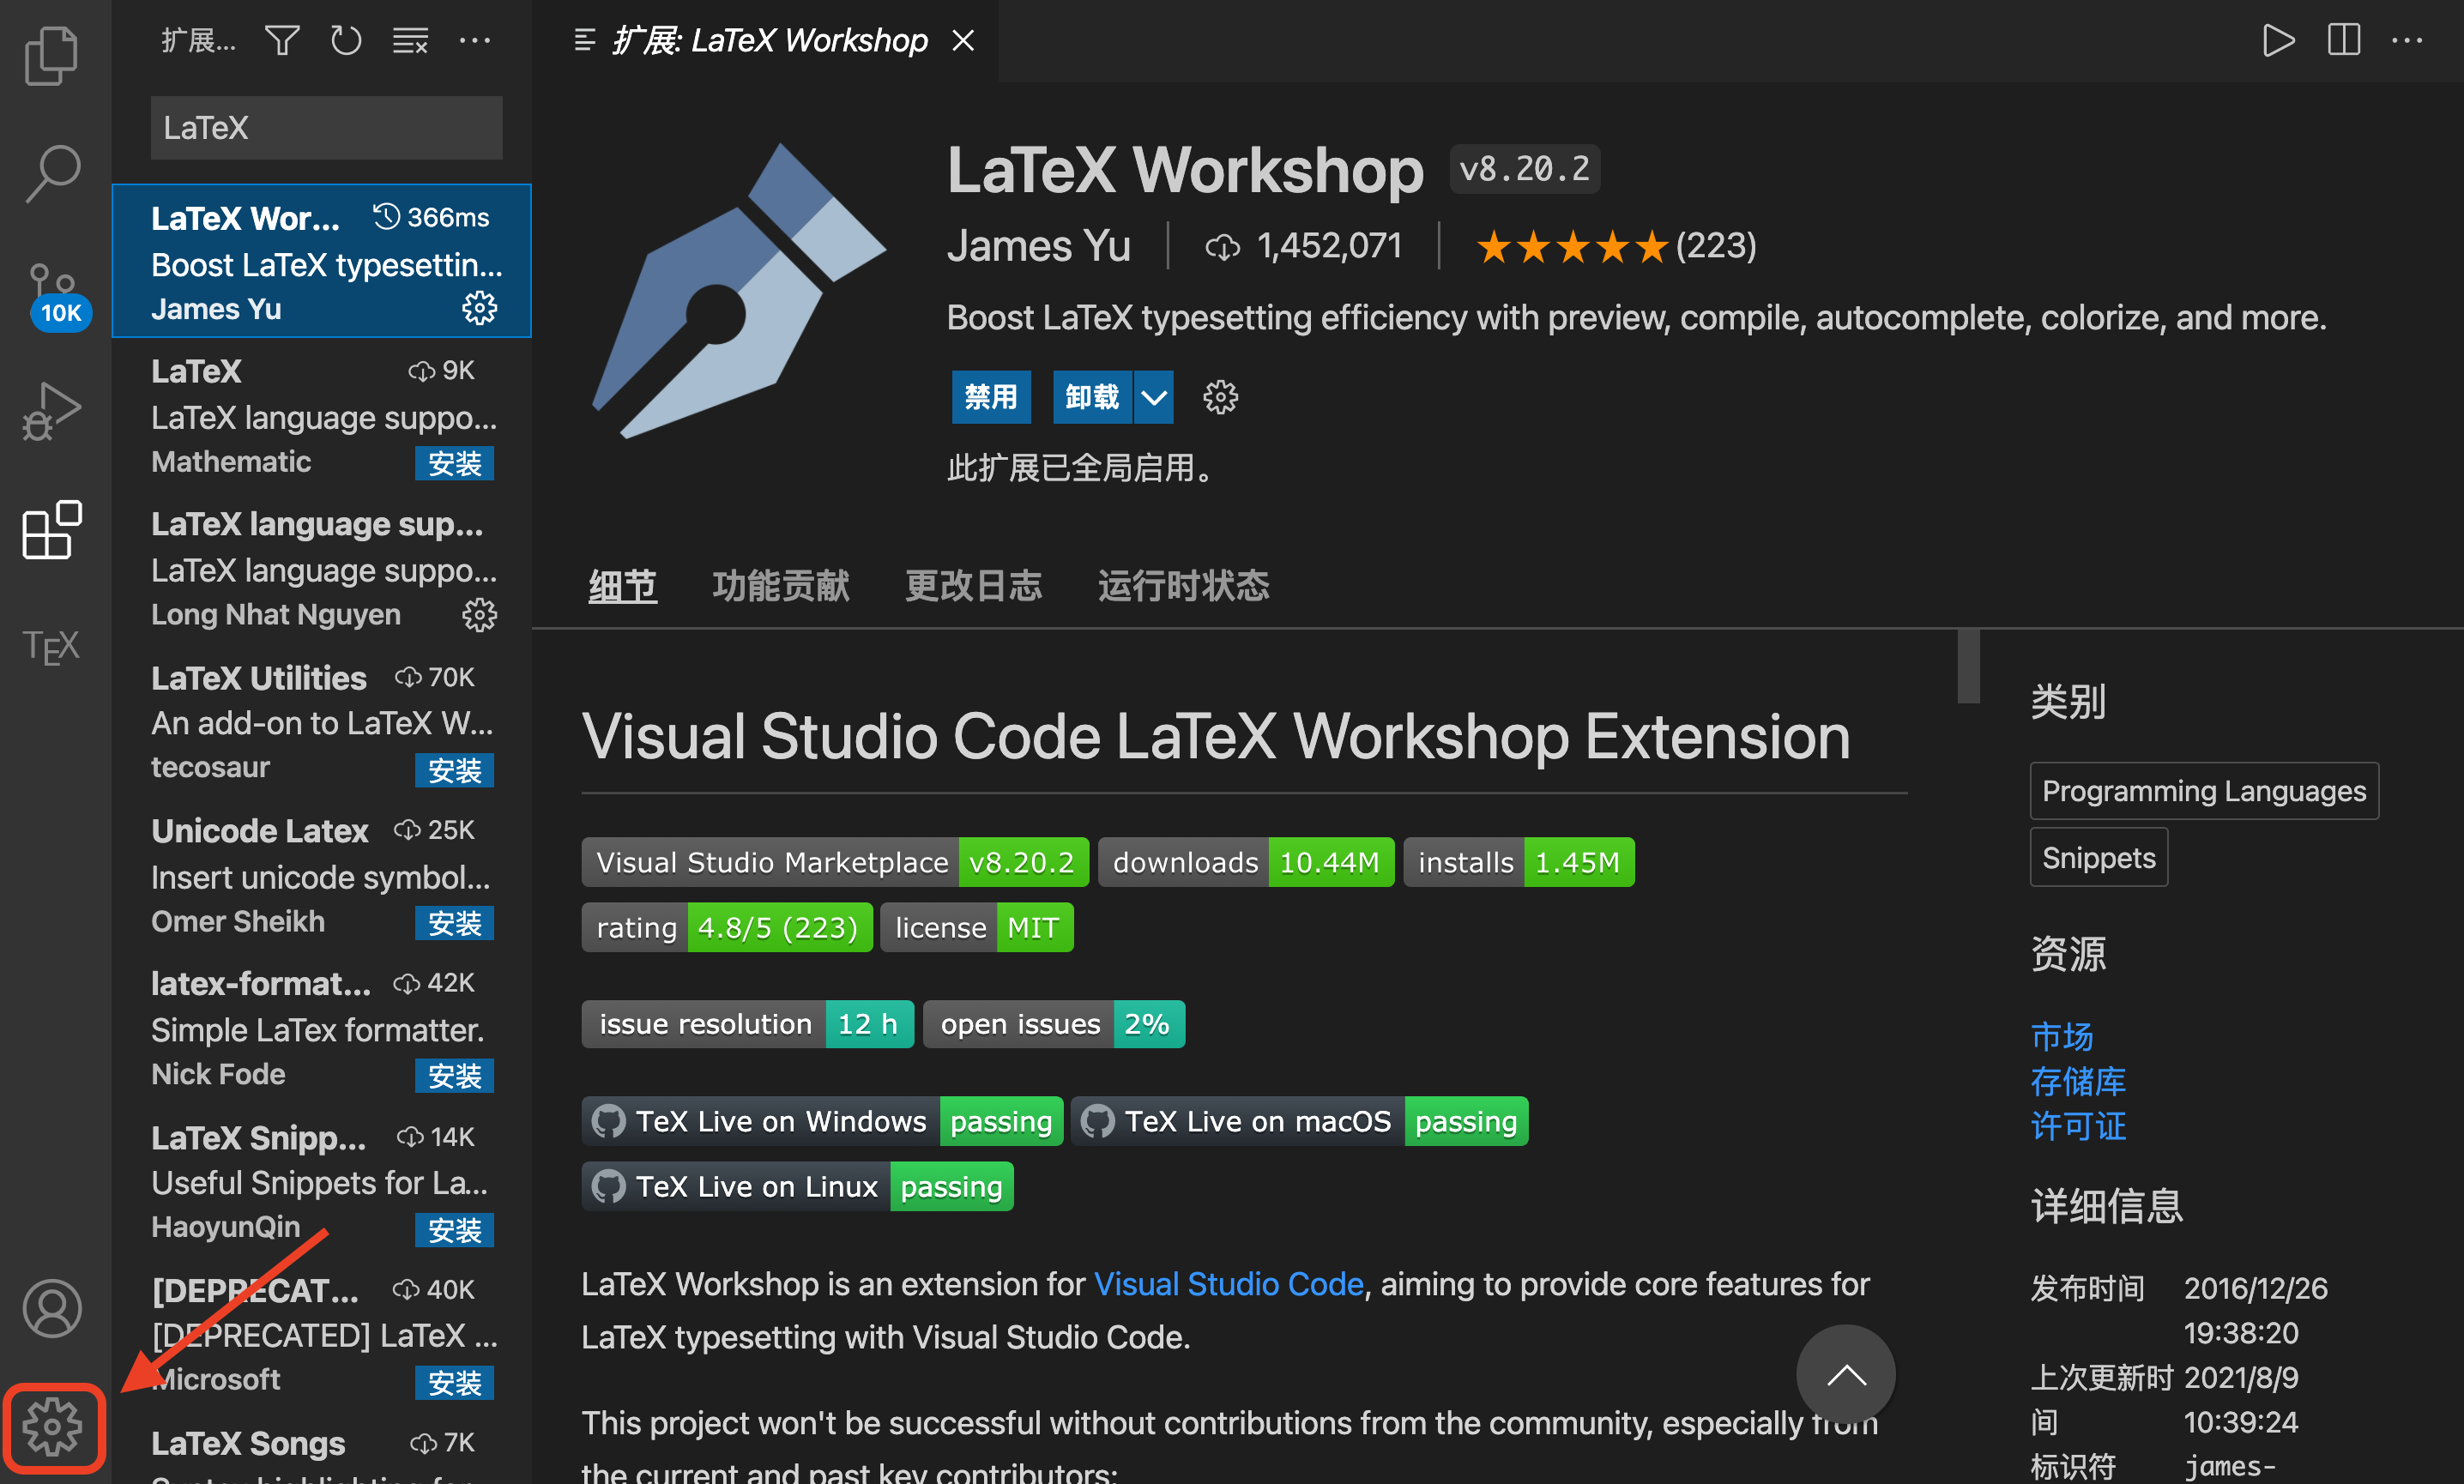 点击
点击设置进入用户设置选项
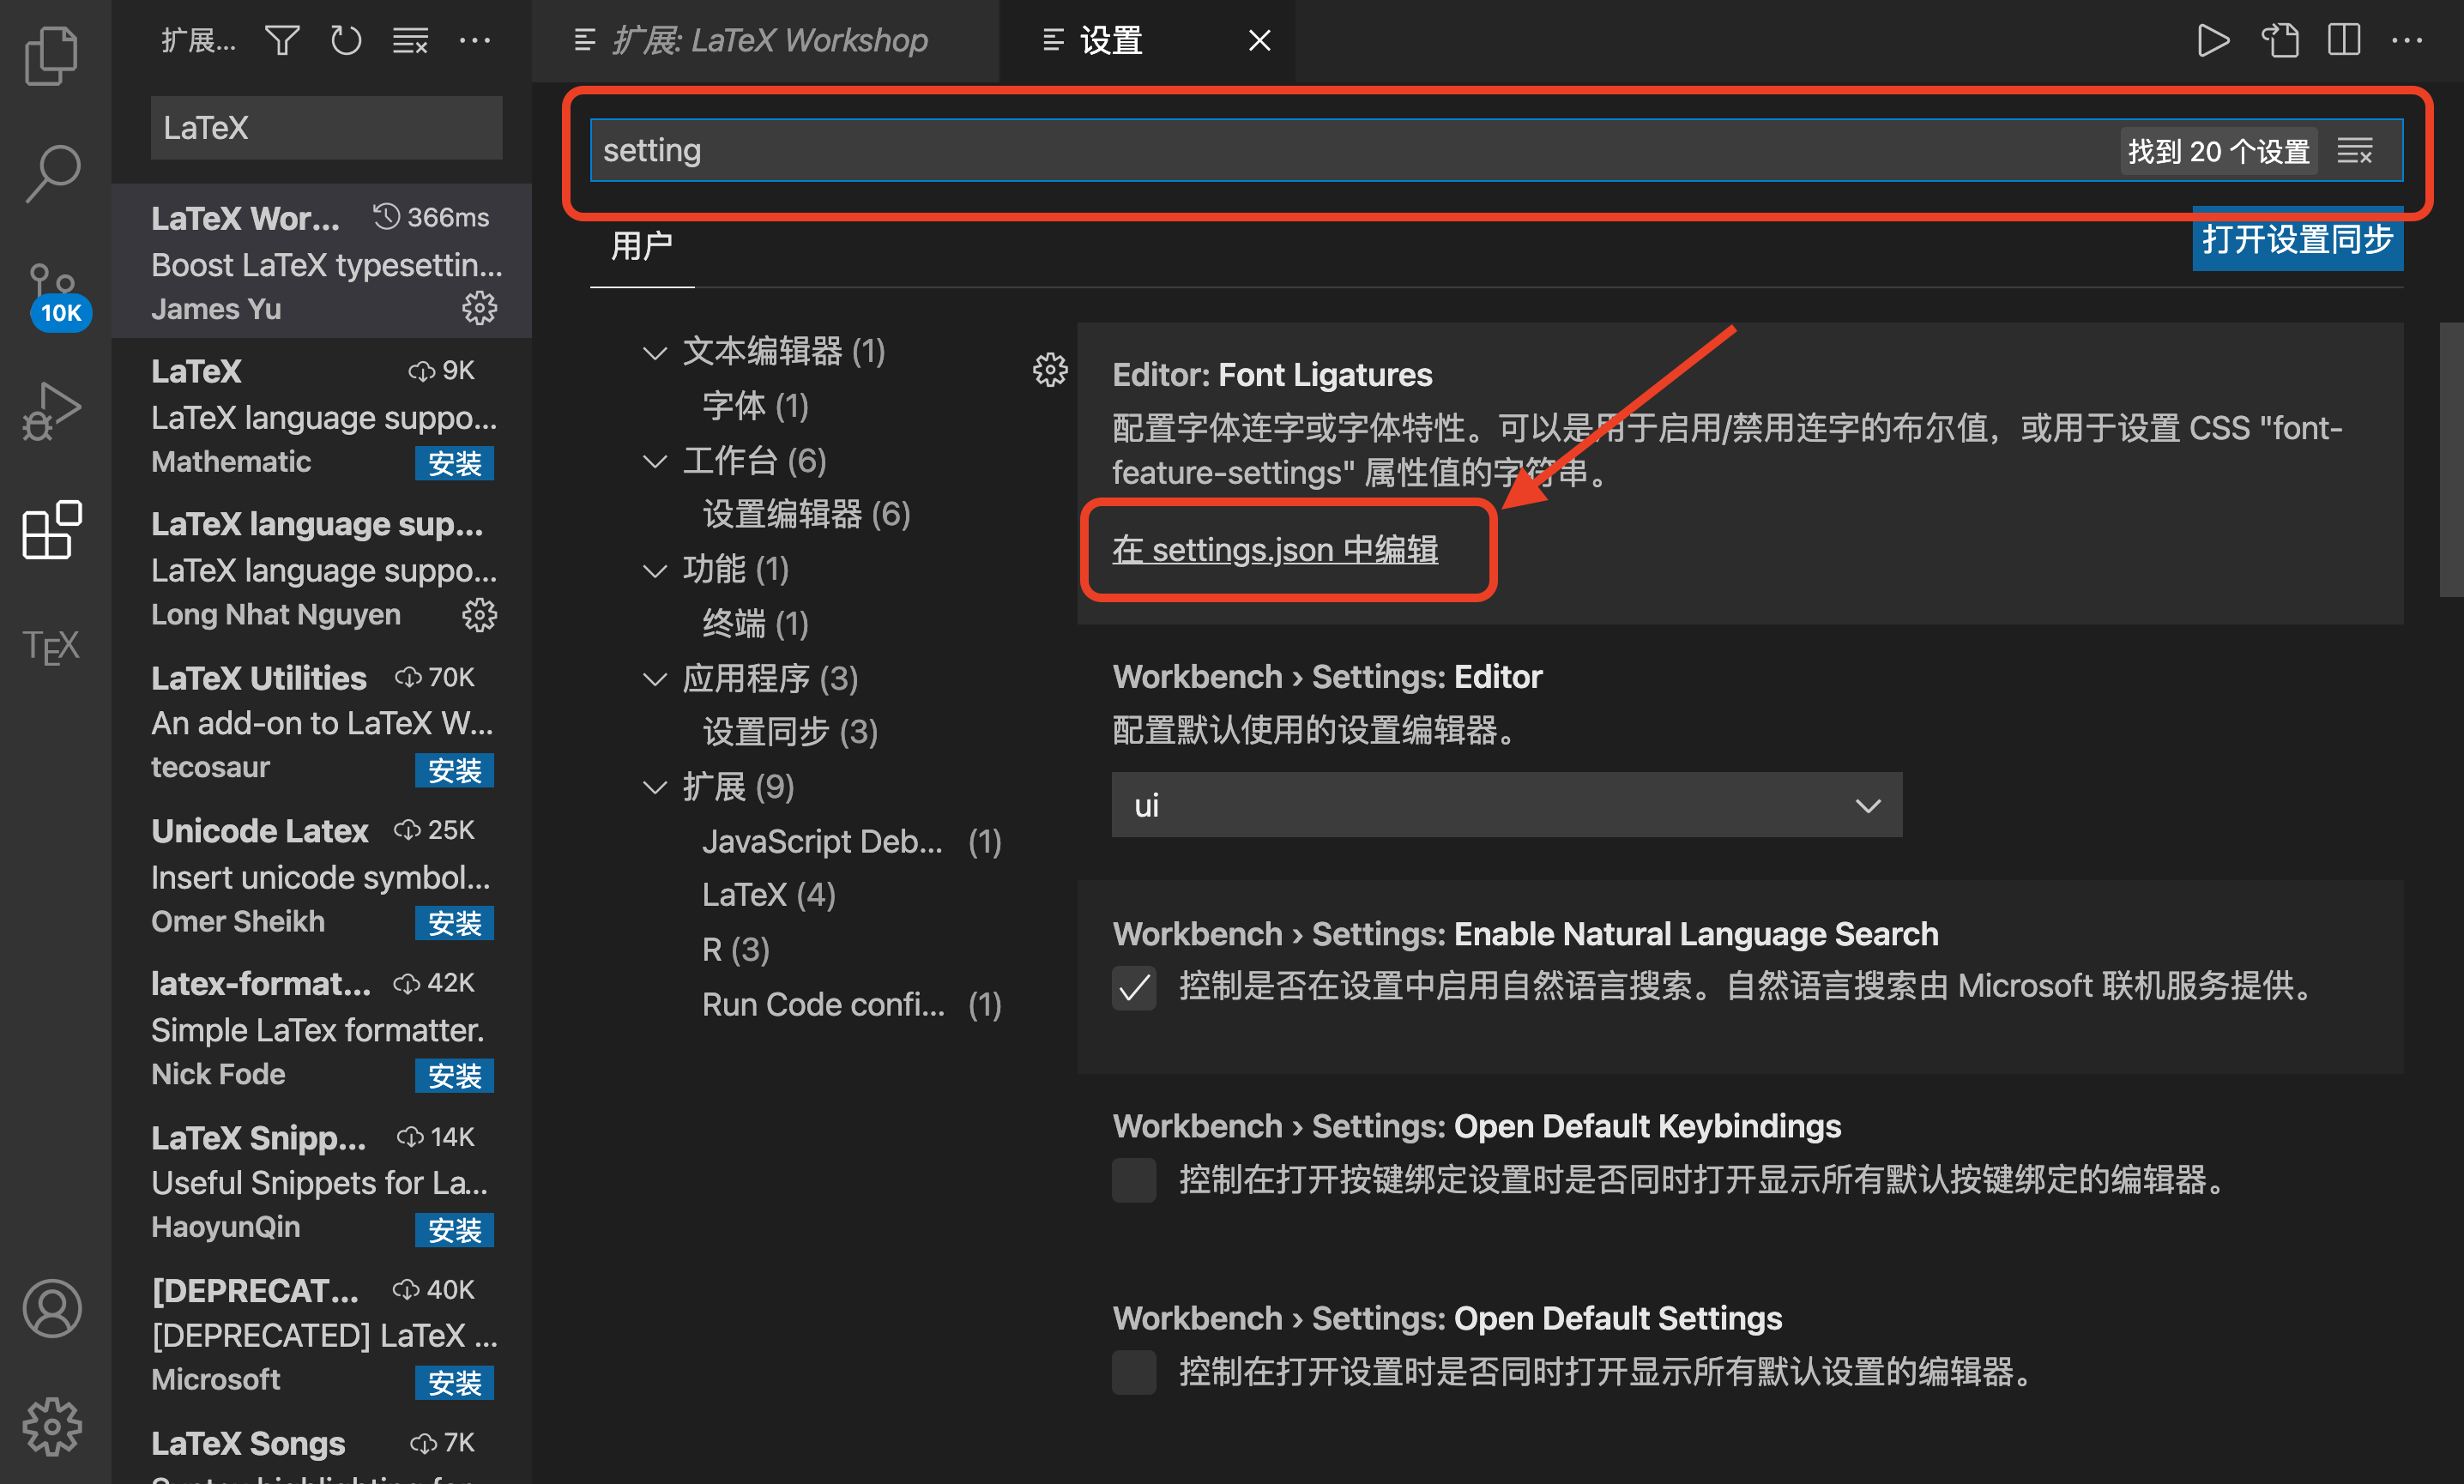
 在主界面上方出现一个搜索框,在该搜索框中输入
setting,点击下方的在settings.json中编辑选项
 进入到
进入到VS Code的参数配置界面,这边是以JSON的方式进行设置的.如下图所示
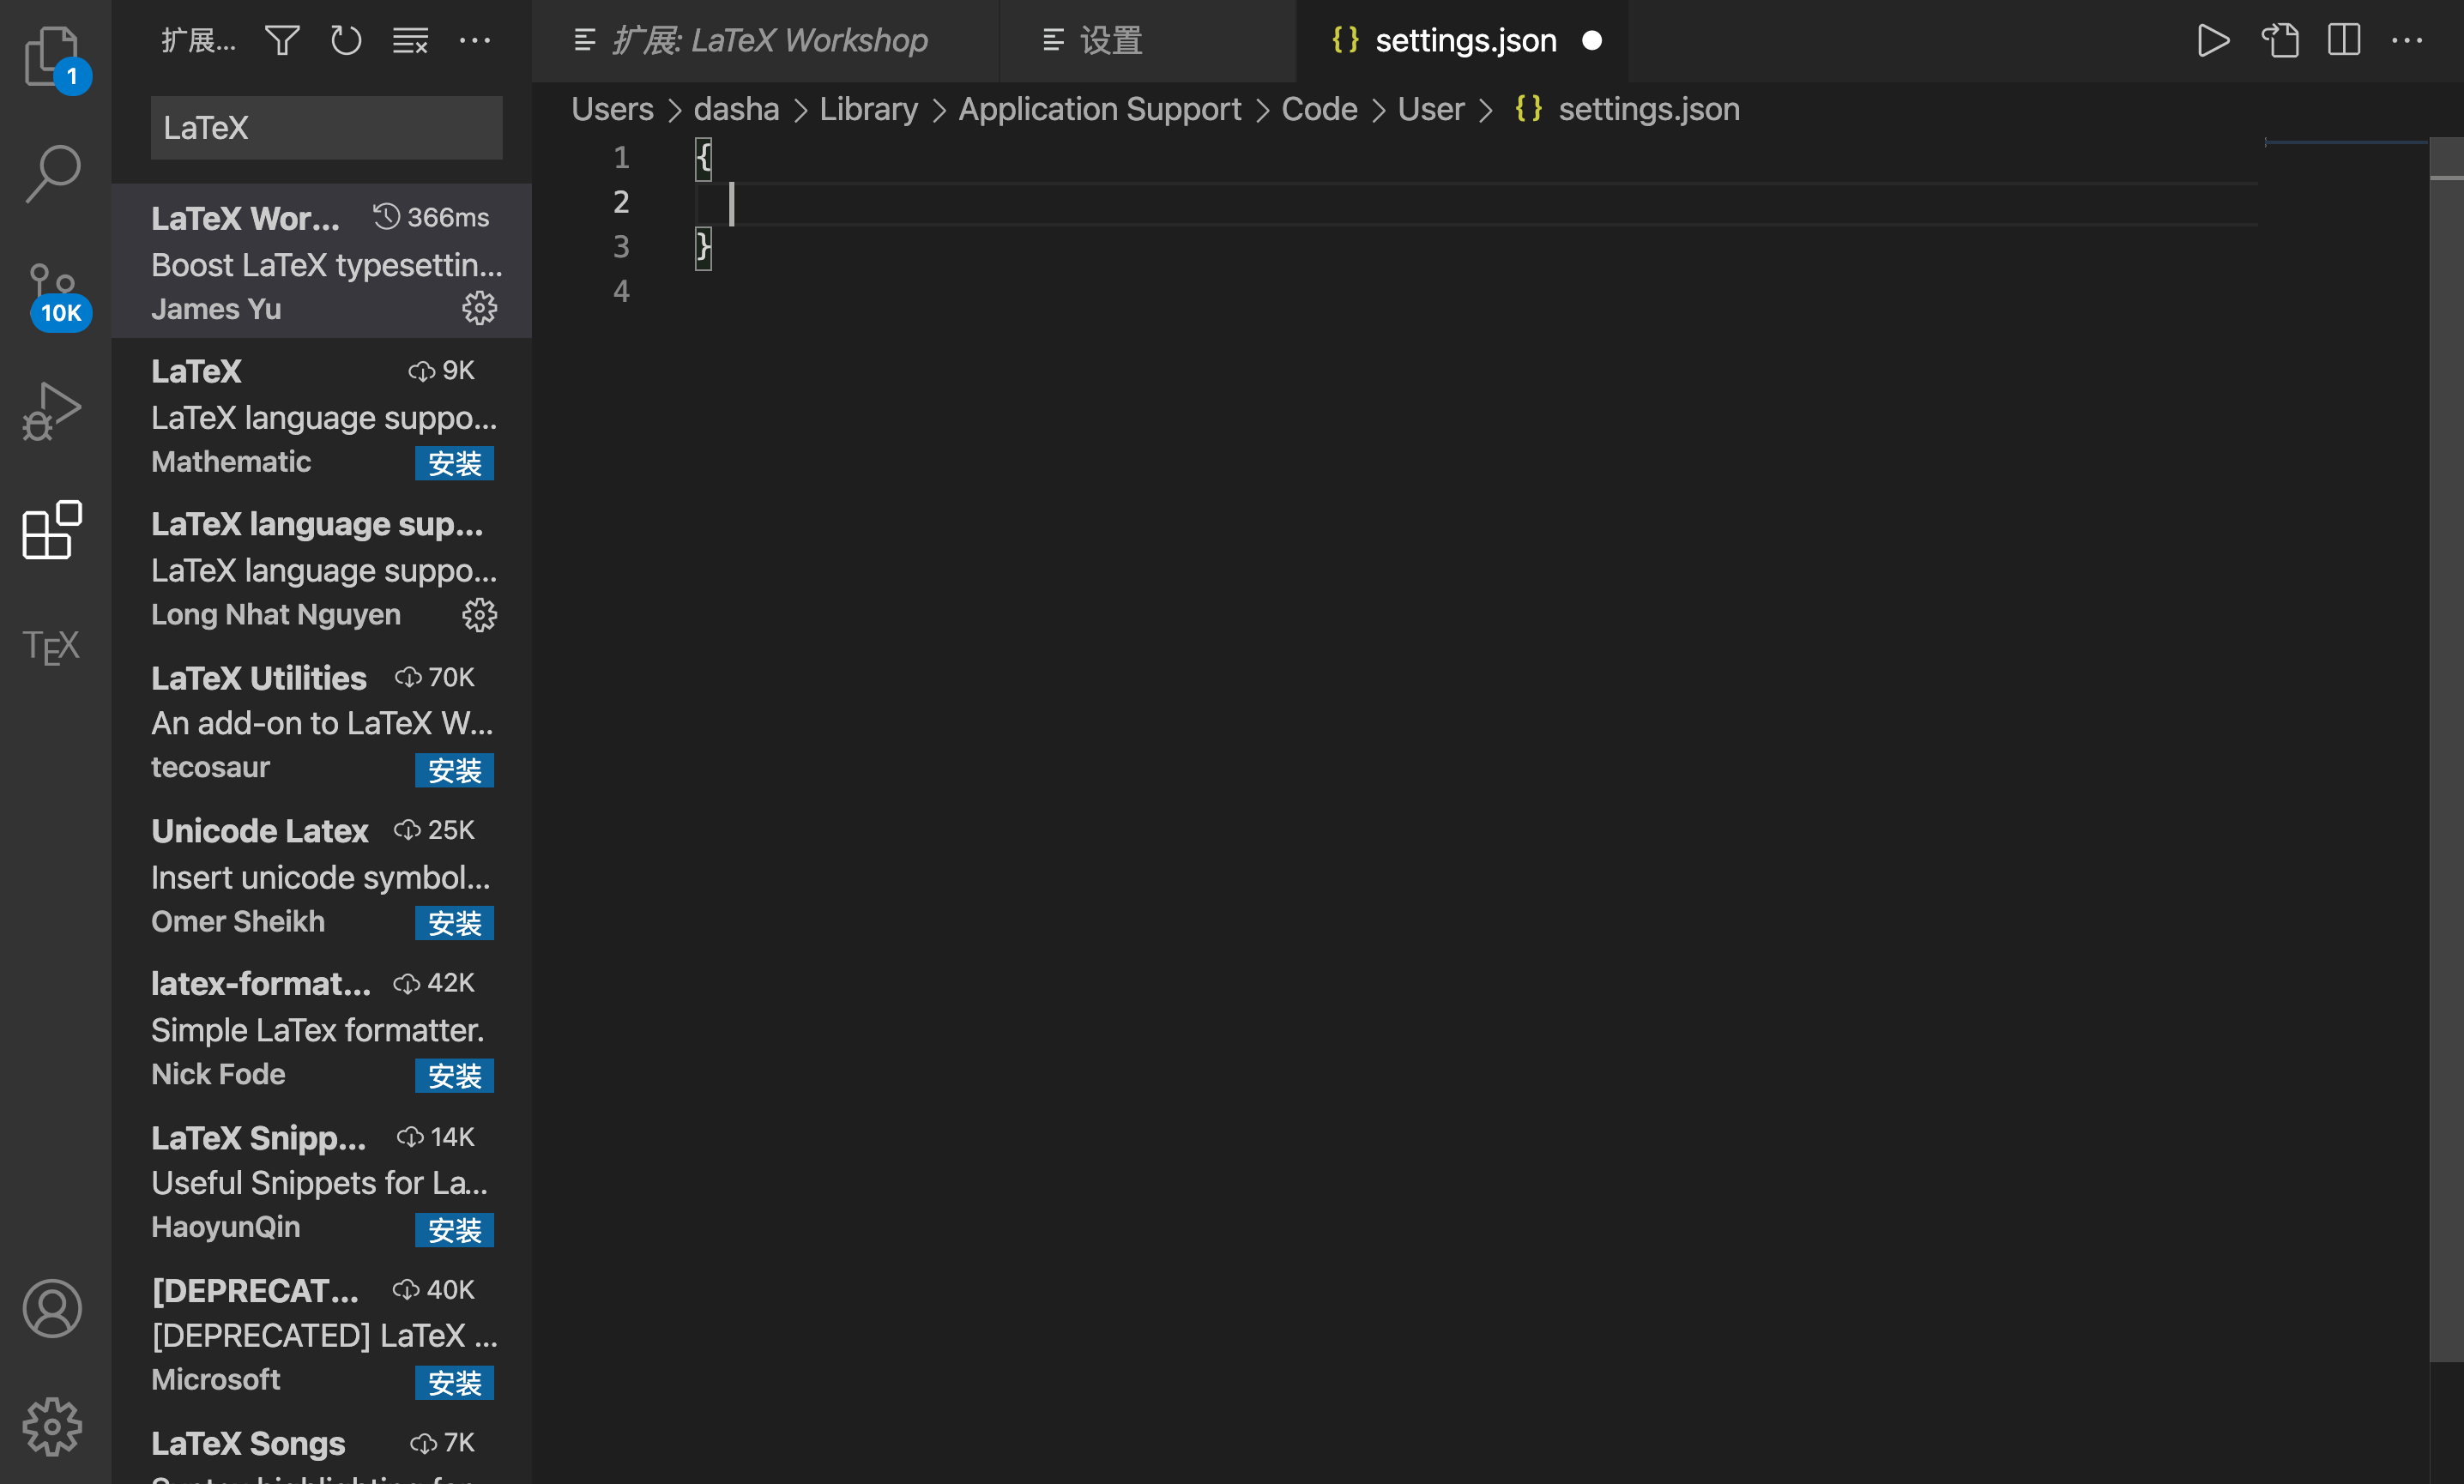
随后,在该文件中配置如下内容 1
2
3
4
5
6
7
8
9
10
11
12
13
14
15
16
17
18
19
20
21
22
23
24
25
26
27
28
29
30
31
32
33
34
35
36
37
38
39
40
41
42
43
44
45
46
47
48
49
50
51
52
53
54
55
56
57
58
59
60
61
62
63
64
65
66
67
68
69
70
71
72
73
74
75
76
77
78
79
80
81
82
83
84
85
86
87
88
89
90
91
92
93
94 {
// Latex workshop
"latex-workshop.latex.tools": [
{
"name": "latexmk",
"command": "latexmk",
"args": [
"-synctex=1",
"-interaction=nonstopmode",
"-file-line-error",
"-pdf",
"%DOC%"
]
},
{
"name": "xelatex",
"command": "xelatex",
"args": [
"-synctex=1",
"-interaction=nonstopmode",
"-file-line-error",
"%DOC%"
]
},
{
"name": "pdflatex",
"command": "pdflatex",
"args": [
"-synctex=1",
"-interaction=nonstopmode",
"-file-line-error",
"%DOC%"
]
},
{
"name": "bibtex",
"command": "bibtex",
"args": [
"%DOCFILE%"
]
}
],
"latex-workshop.latex.recipes": [
{
"name": "xelatex",
"tools": [
"xelatex"
]
},
{
"name": "latexmk",
"tools": [
"latexmk"
]
},
{
"name": "pdflatex -> bibtex -> pdflatex*2",
"tools": [
"pdflatex",
"bibtex",
"pdflatex",
"pdflatex"
]
}
],
"latex-workshop.view.pdf.viewer": "tab",
"latex-workshop.latex.clean.enabled": true,
"latex-workshop.latex.clean.fileTypes": [
"*.aux",
"*.bbl",
"*.blg",
"*.idx",
"*.ind",
"*.lof",
"*.lot",
"*.out",
"*.toc",
"*.acn",
"*.acr",
"*.alg",
"*.glg",
"*.glo",
"*.gls",
"*.ist",
"*.fls",
"*.log",
"*.fdb_latexmk"
],
"security.workspace.trust.untrustedFiles": "open",
"window.zoomLevel": 2,
"code-runner.runInTerminal": true,
}VSCode配置生效 ### 测试\(LaTeX\)是否成功配置 1. 新建并打开文件夹,之后所有产生的文件都在此文件夹下  1. 选择信任此作者
 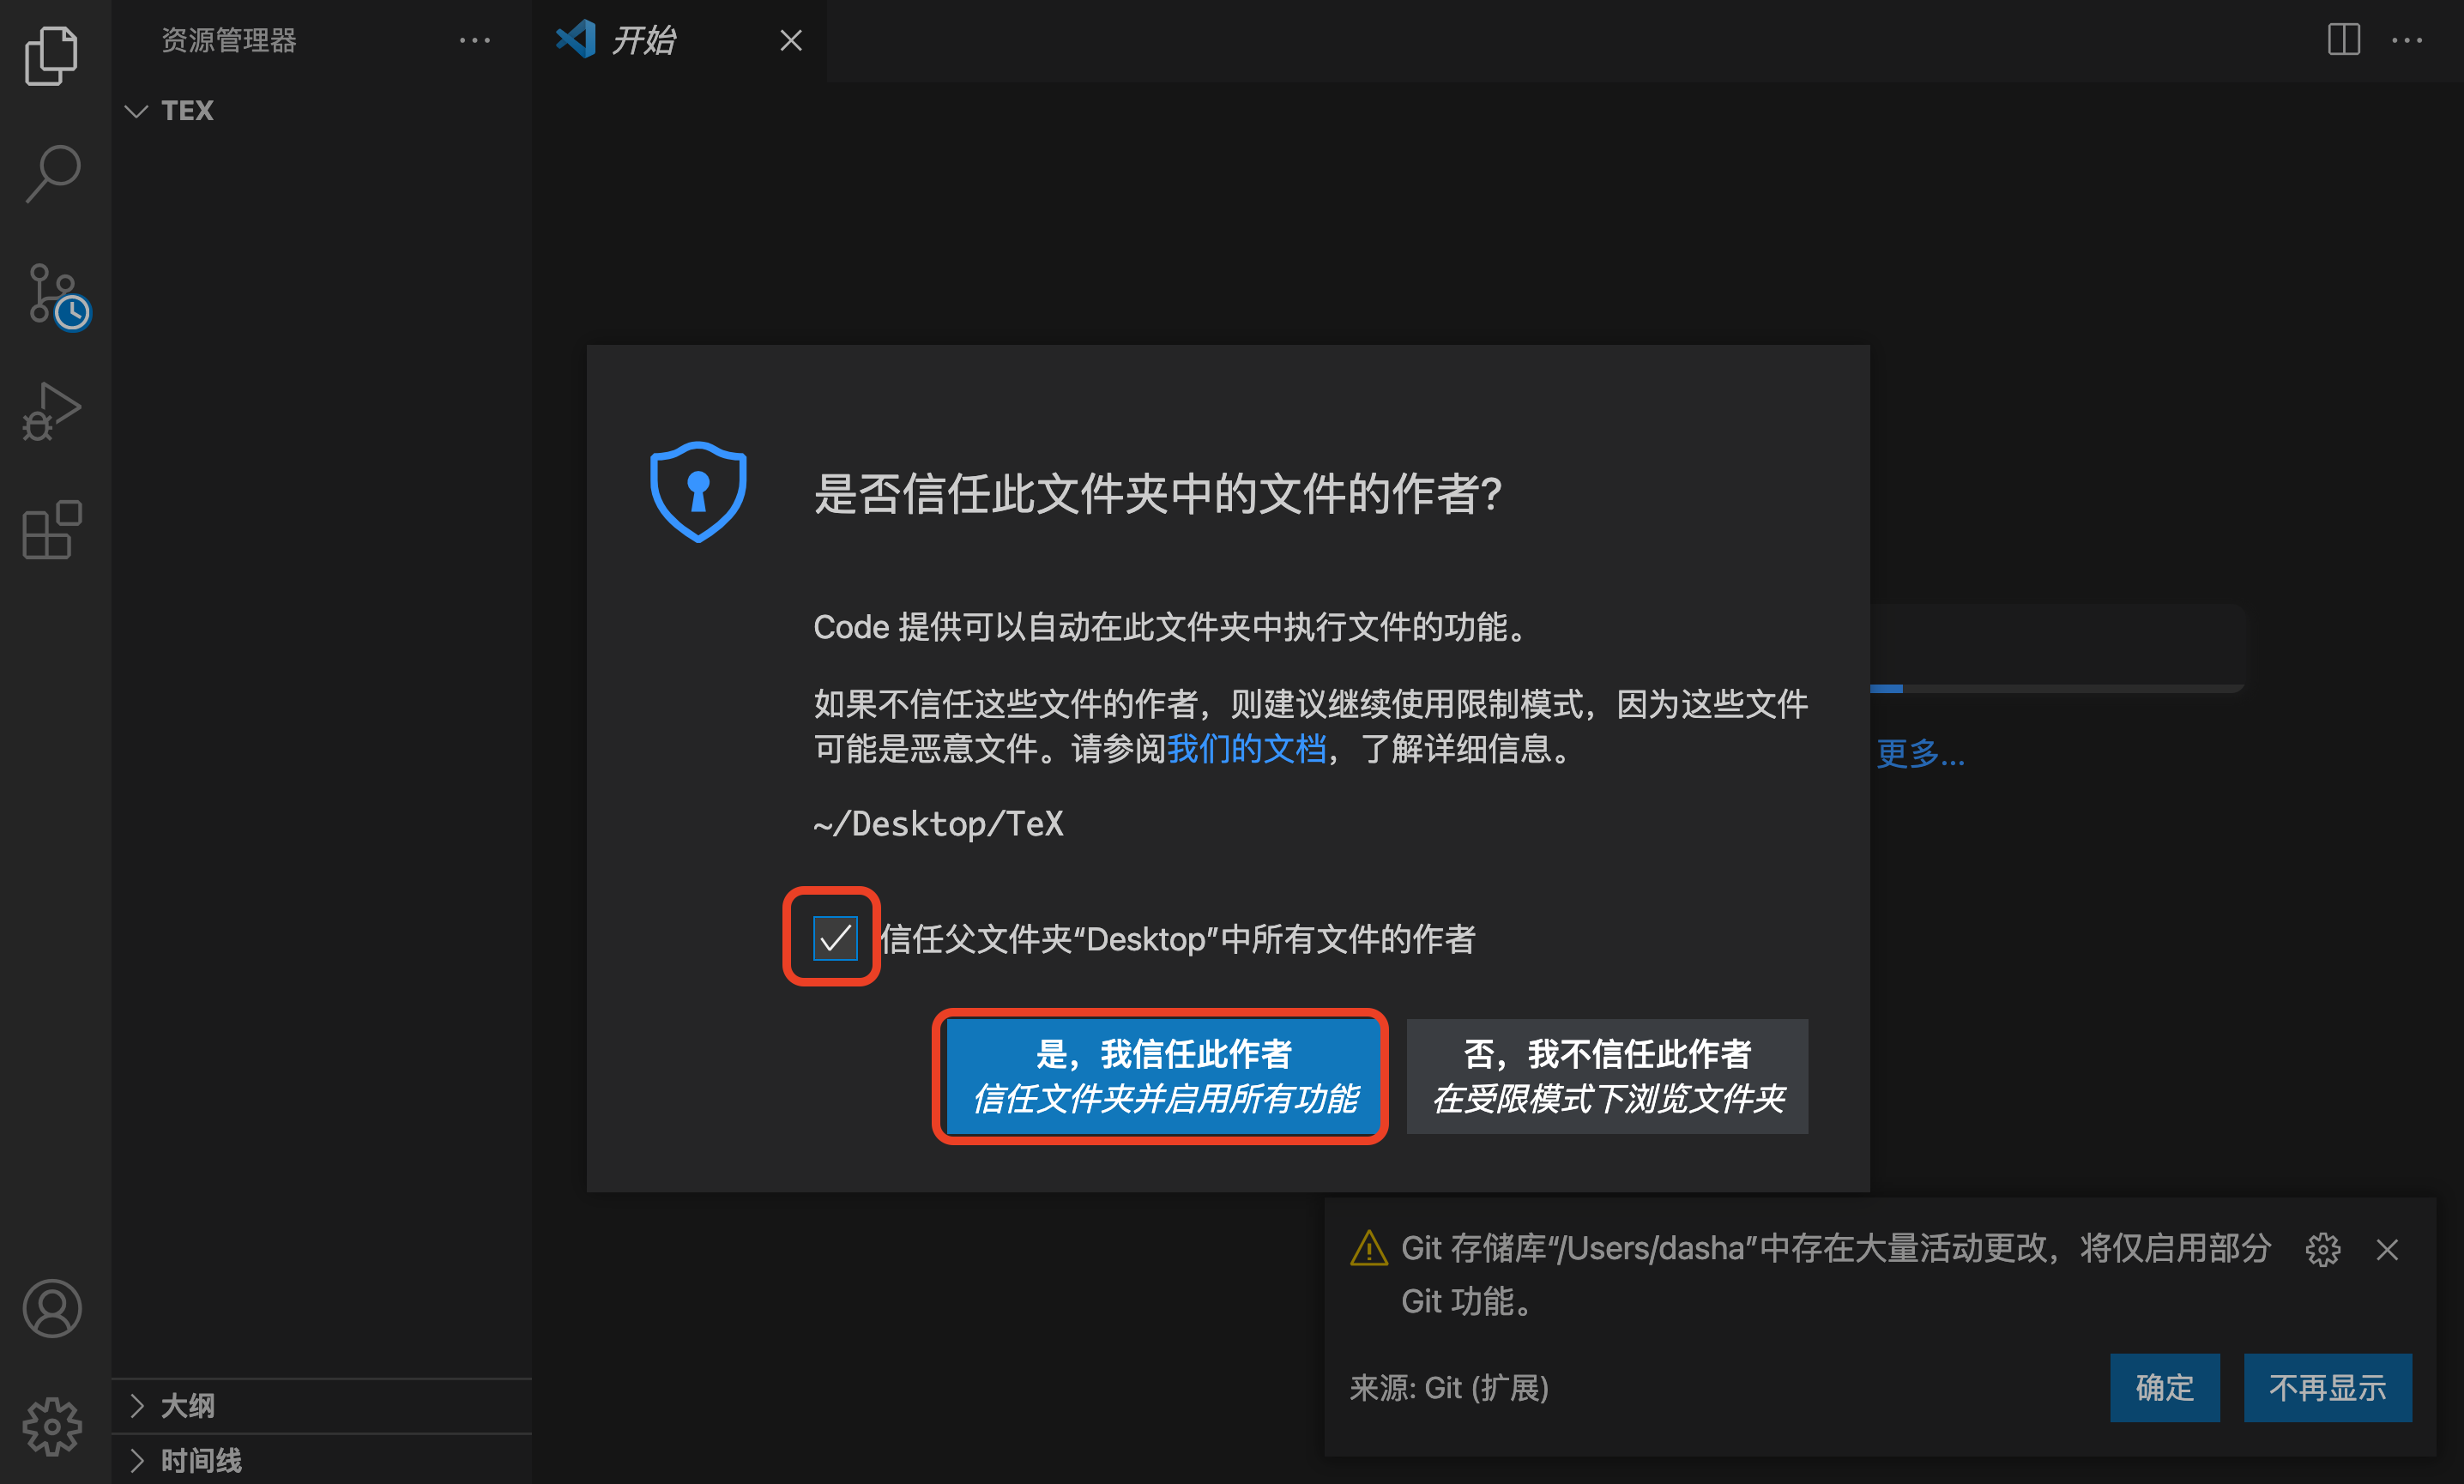 1. 新建TeX文件(扩展名是
.tex) 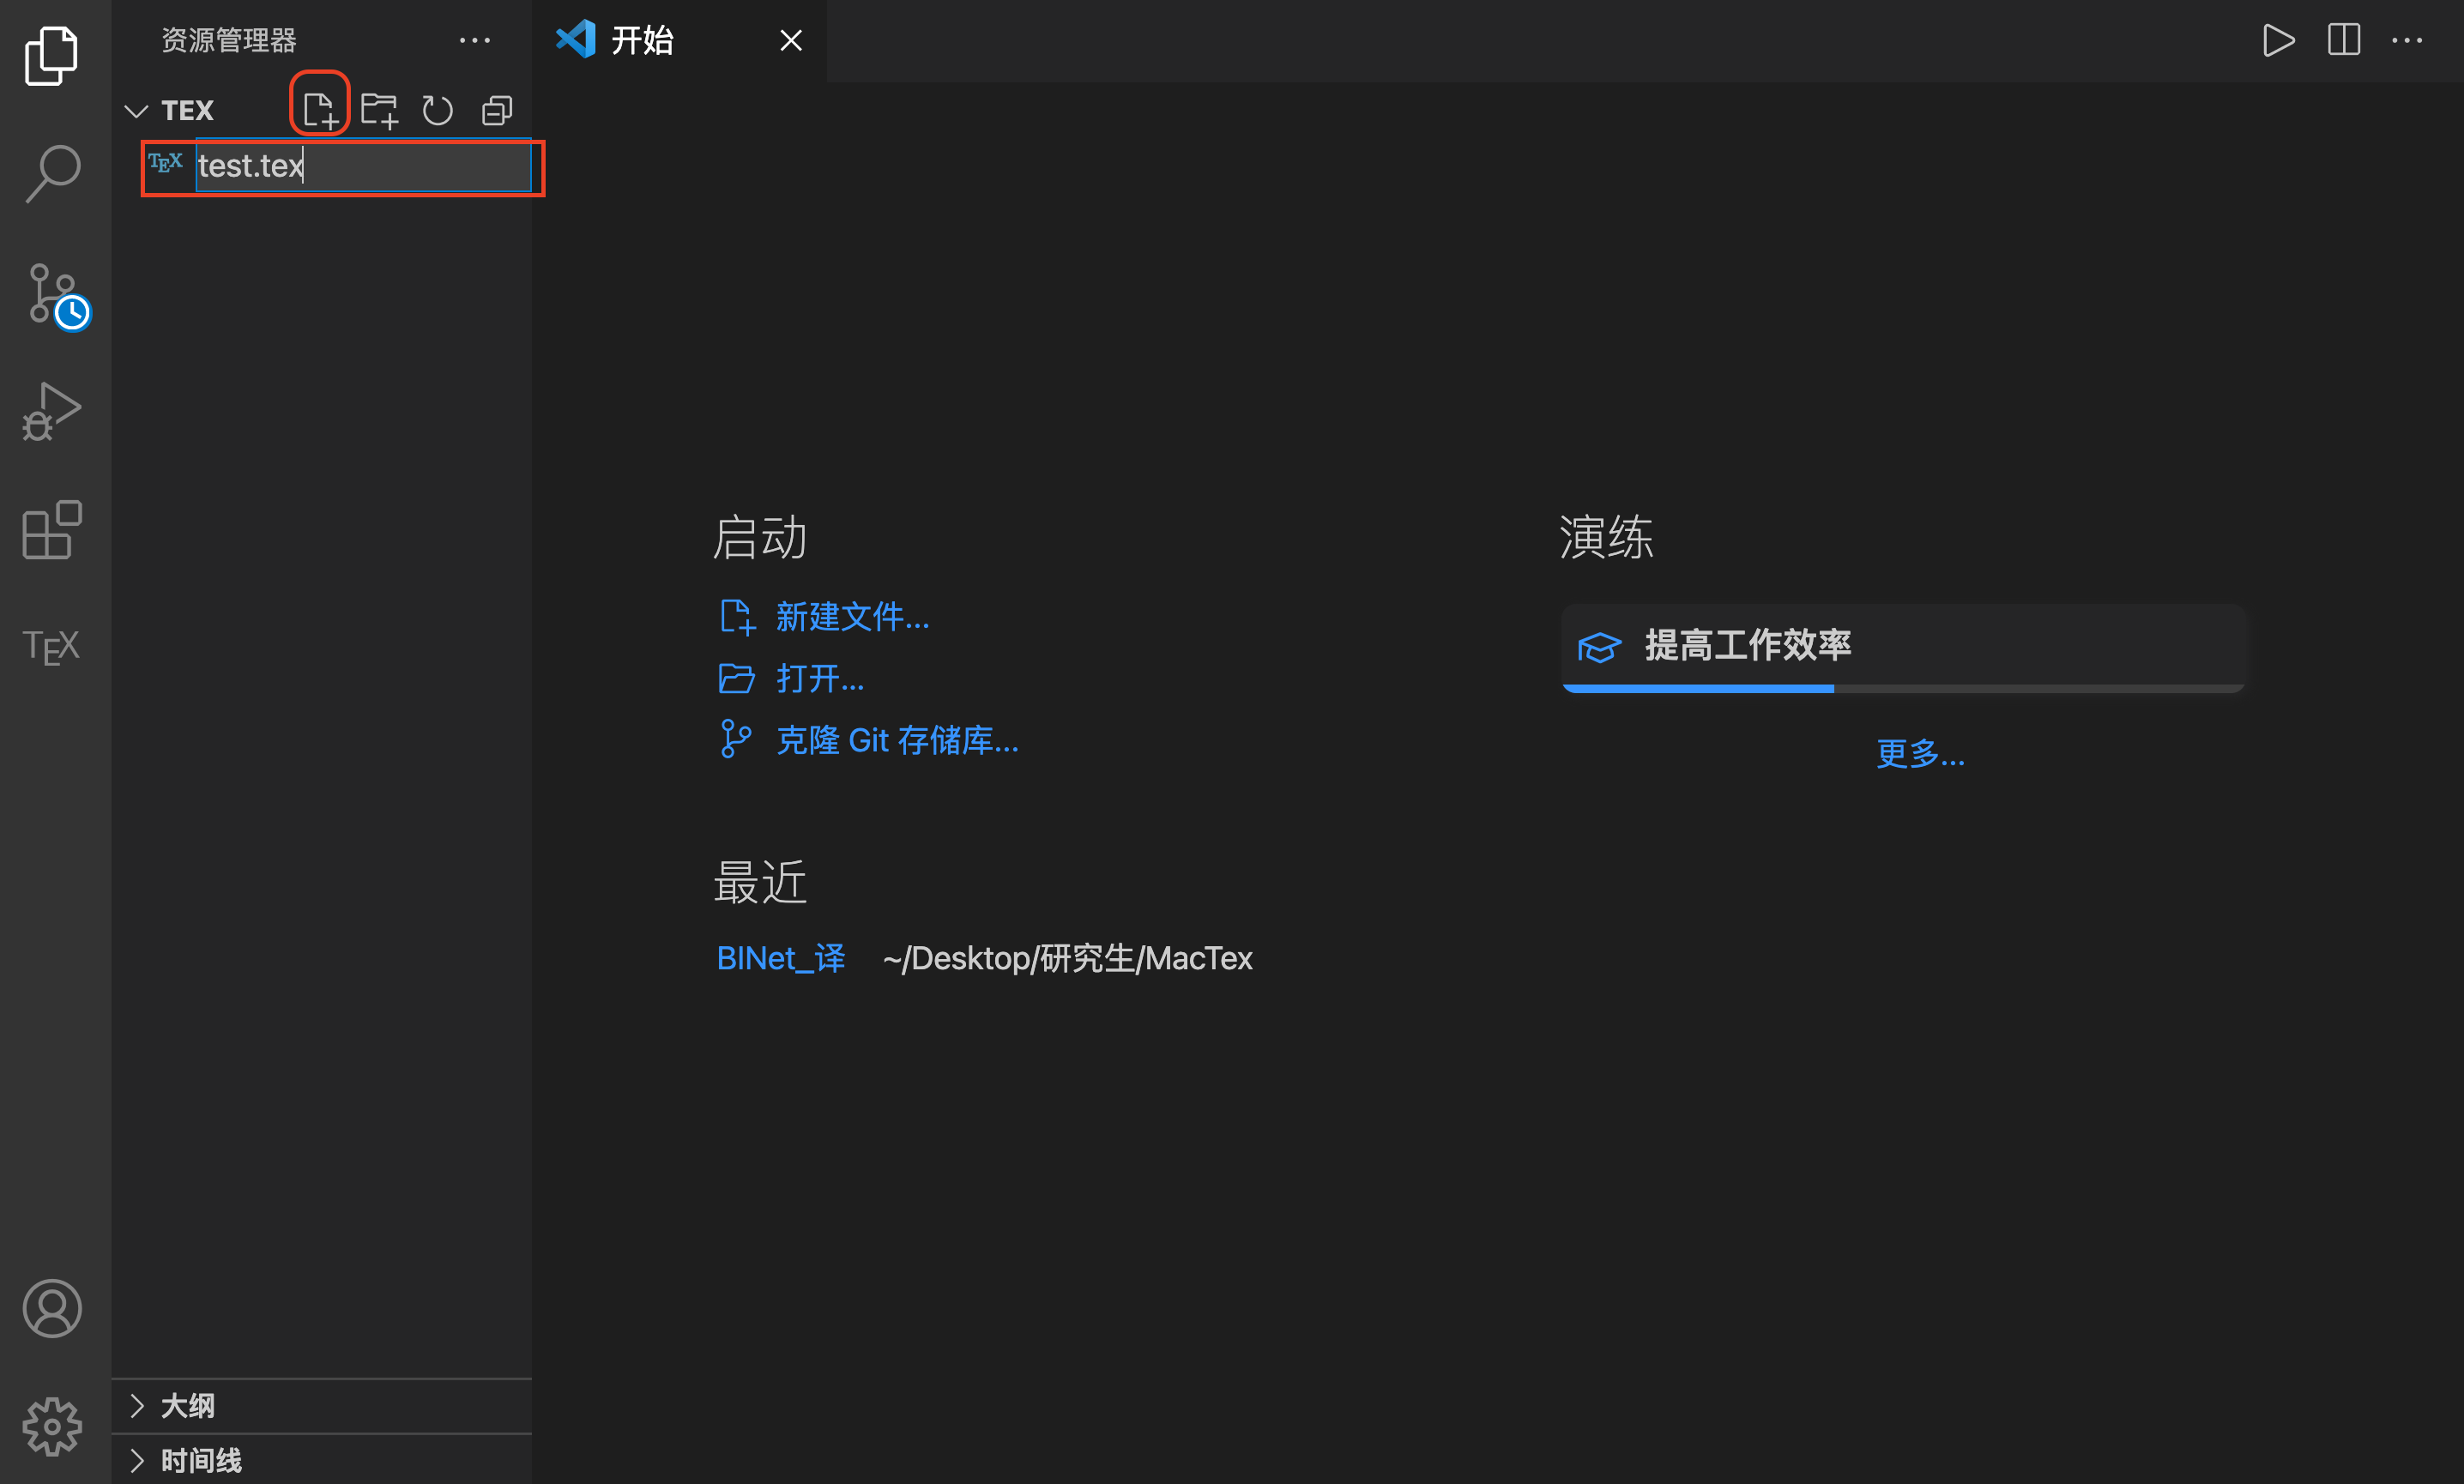
编写TeX测试文档
在
test.tex中输入:1
2
3
4\documentclass{article}
\begin{document}
hello,world
\end{document}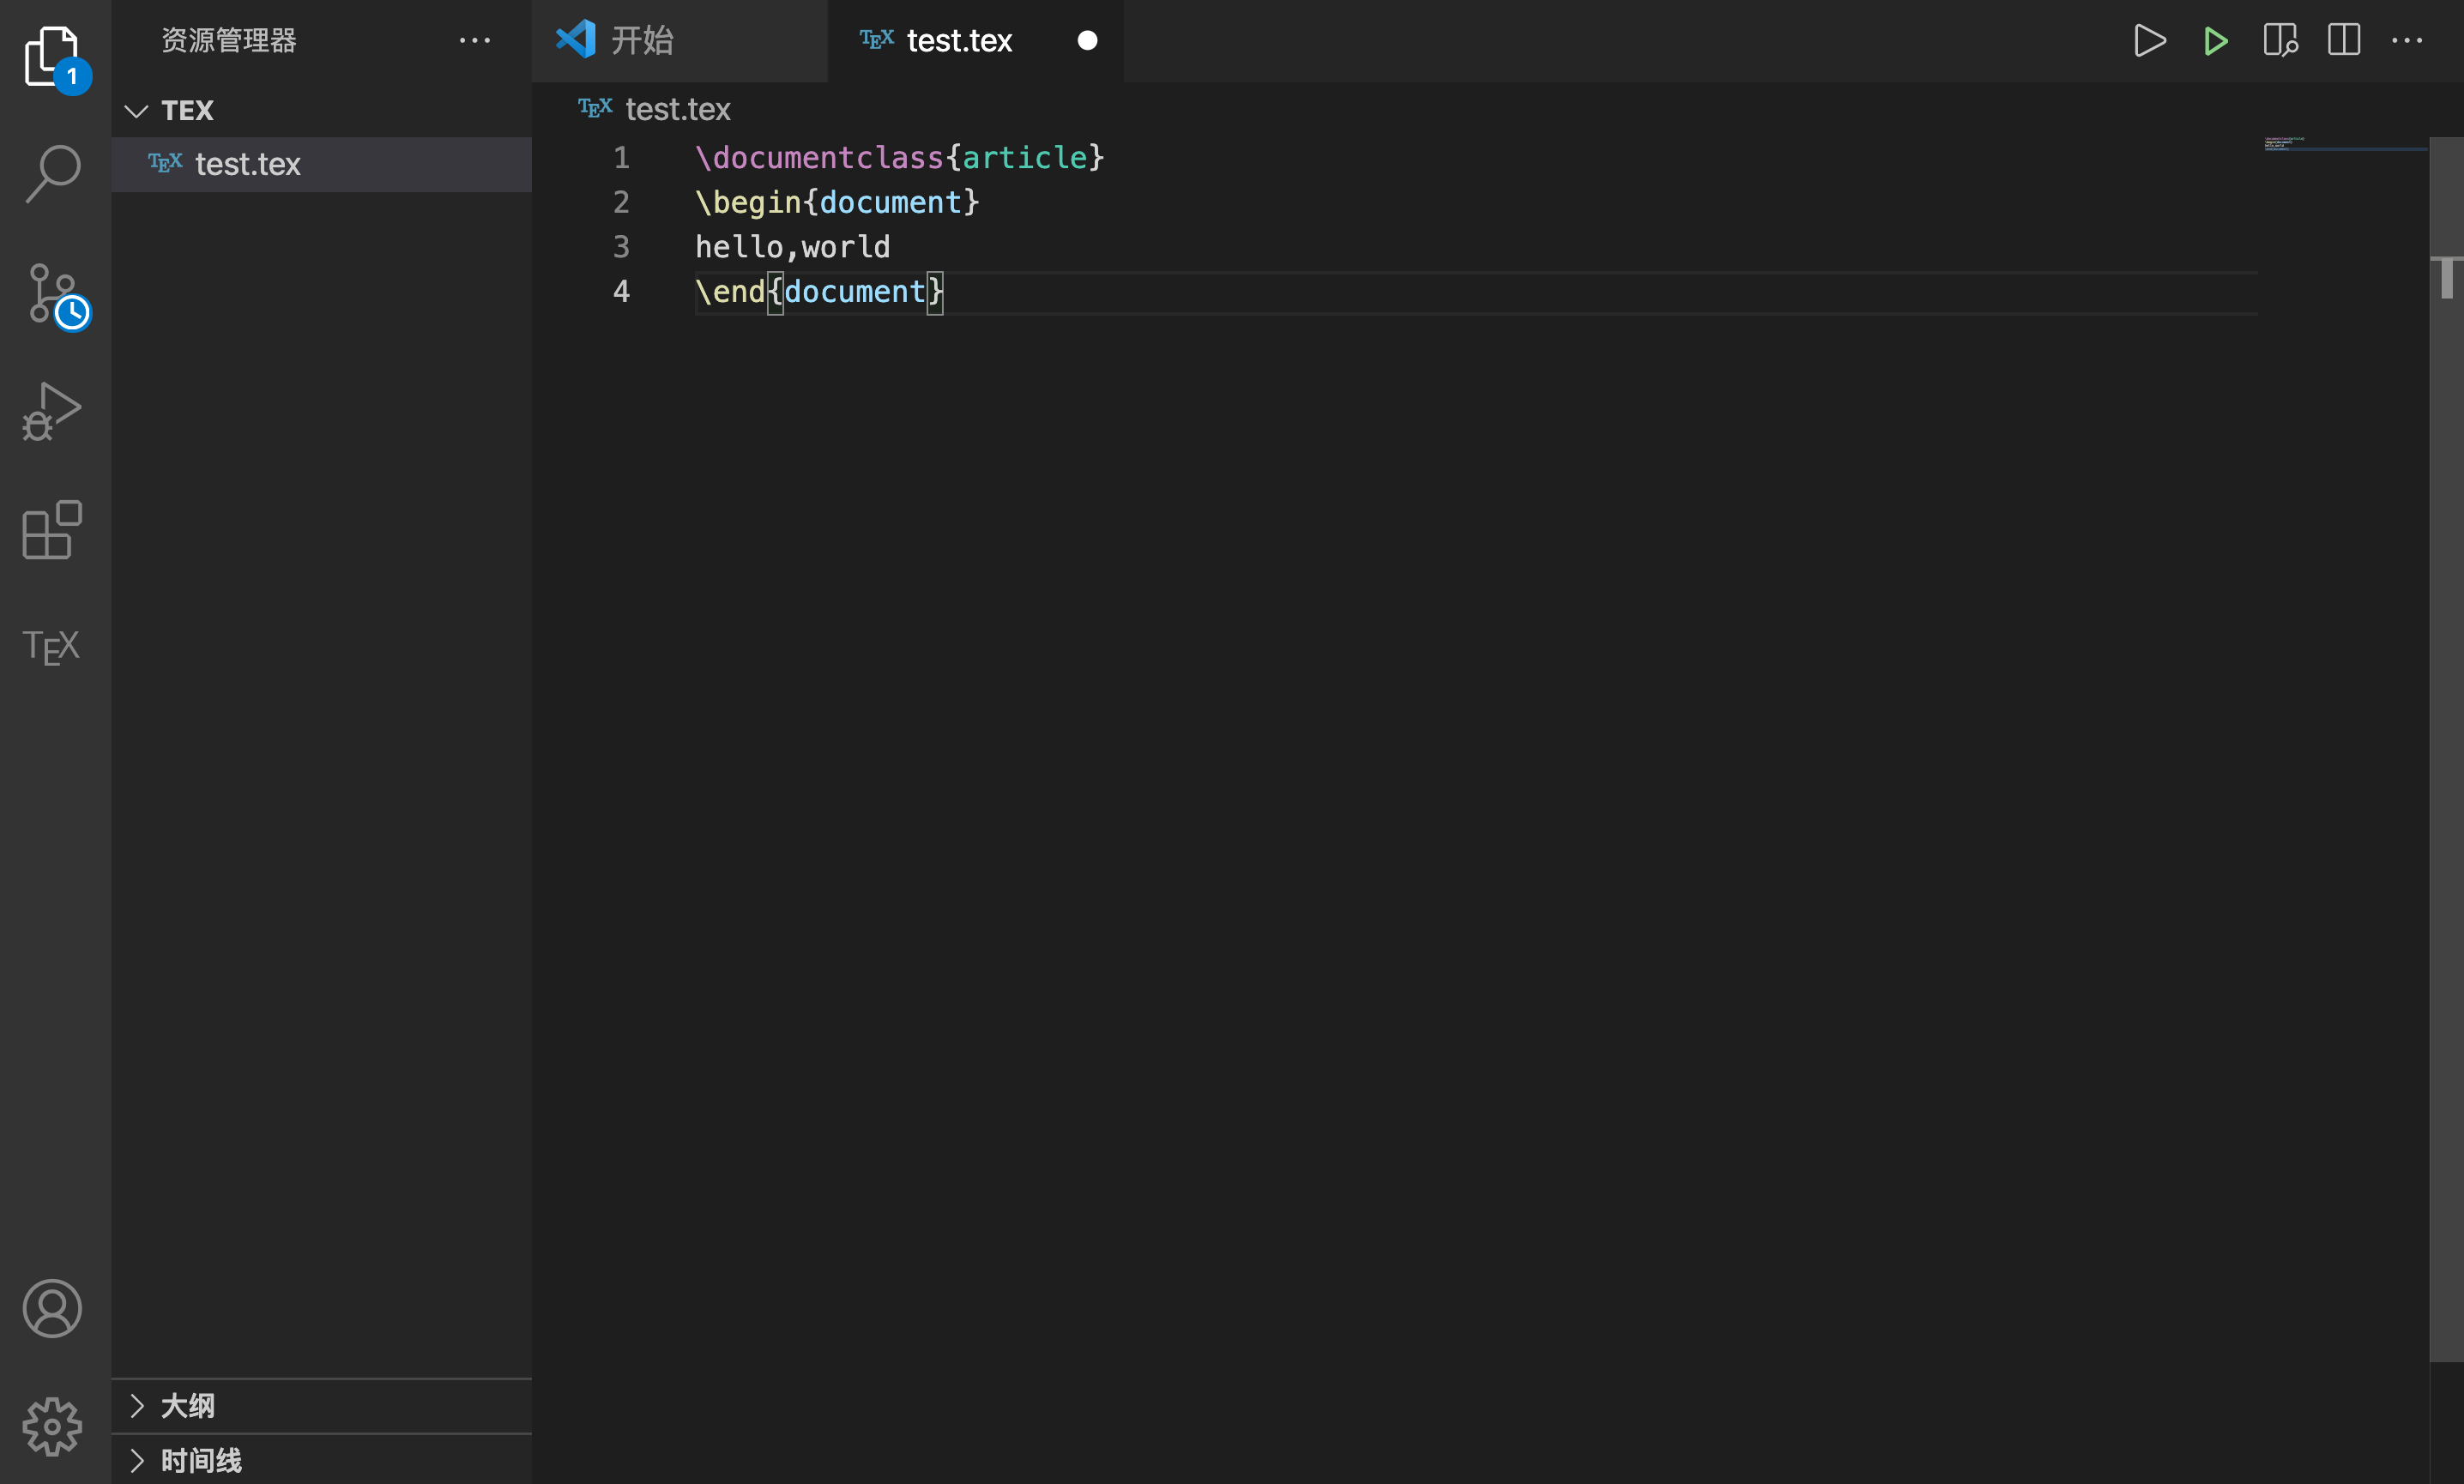
单击
Recipe:xelatex,使用xelatex编译
左下角✅代表编译成功,此时可点击右上角的预览按钮进行预览
 注意:当你更改了TeX文档的时候,需要先进行编译,然后才能预览,否则内容还是修改之前的内容 在
VSCode界面中的预览效果:
大功告成!
本博客所有文章除特别声明外,均采用 CC BY-SA 4.0 协议 ,转载请注明出处!